What is a photographer who loves to cook to do, but play with his food pics 🙂


What is a photographer who loves to cook to do, but play with his food pics 🙂
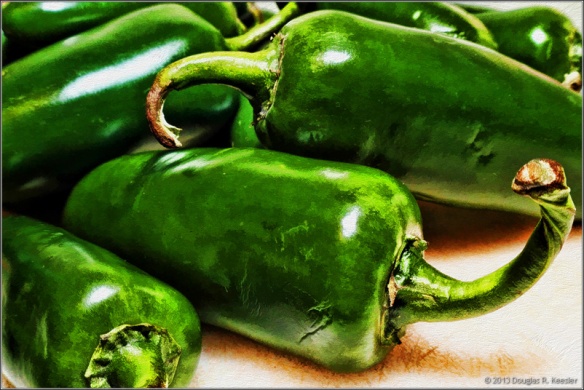
Ok, this isn’t the most exciting blog post you’ve ever read — unless, like me, you sometimes get excited by rather ordinary things. I mean it was exciting enough to have pepper plants germinating less than a week after planting, but on day 9 to see one of my Serrano plants already “growing up” and showing its mature colors was pretty exciting. OK.. maybe not exciting, but pretty cool at least.

Sure, you could wait until May and just plant your seeds in the ground, but then here in the north the growing season is about over before you begin harvesting things like peppers, tomatoes, and such. The alternative is to go to your local nursery and buy pre-started plants at $5 to $10 a cell. An effective, but expensive way to start a garden. With this setup you’ll spend less than the cost of buying starter plants the first year, and as this system is reusable year after year and breaks down for easy storage, you’ll save hundreds in the following years.
Here are the main purchases you’ll want to make to get started:

Are these essential? Let’s put it this way, without them some things like pepper seeds can take up to 2 months or longer to germinate if the seeds don’t rot before then, and your germination success rate will be much lower. If you use the heat mat without the thermostat you could get your soil temp to high and kill the seeds that way too. Using them together and regulating my soil temp at 84° I have germinated all 4 trays of my starters in 8 days. Yes, the combo will set you back about $100, but it will be the best $100 you ever spent on gardening if you are even a little serious about getting great results from your garden and your time spent on it. You can find both of these on Amazon.com and other places.
The next thing you will need is a quality light set that is easily adjustable.

You could make your own, or just use shop lights with daylight (6500K) rated bulbs and prop them up at the right height with bricks or blocks of wood. I bought this stand because it’s fairly inexpensive ($60), it’s durable, and it just snaps together and easily snaps apart for storage until needed the next year. This is also available on Amazon.com as well as other retailers.
I made some slight modifications to my light system as pictured below:

The light kit ships with the single bulb fixture shown in the center of my light arrangement. This is great if you are only seeding a 4 inch wide window ledge tray; but the 48 inch heat mat allows me to place 4 starter trays side by side on the mat (if you use the 72 cell trays, that’s almost 300 plants you can start with this little kit), and once the seedlings have sprouted I need to lower the lights to 1-2 inches above the sprouts and still have 24 inches of light coverage.
So, I bought two cheap dual bulb shop lights from Wal-Mart at $10 each, and 4 daylight rated fluoro bulbs @ $10 pair. I found some shelving bracket at the hardware store on clearance for $1 and cut it into 14 inch lengths at attached it to the tops of the fixtures with ½ inch sheet metal screws, being careful to measure precisely so your fixture will be perfectly balanced when you are done. I did this at both ends of the light fixtures.
I purchased some small link chain with a 19 lb load rating from the hardware store which I looped under the center of the fixture and attached with one of the small S-hooks that ship with the light kit. Then I attached U-bolts and S-Hooks to the top of the light stand as pictured below.

As your seedlings grow adjusting your light height is as easy and moving your chain up a link or two. You could try to still use the rope assembly built into the light stand, but I don’t trust it. I am afraid that the extra lights might be too heavy, and the rope will eventually wear out anyway. With chain and S-hooks I don’t have to worry about getting up in the morning and finding my lights have fallen and crushed all my hard work and ruined many of my seedlings.
This will save you hundreds in gardening costs and should give you extra weeks of yield from many of your late maturing plants. If you have tried something else that works well or make other modifications or improvements, I would love to hear about it.
Happy gardening!!
For lovers of reading, crime writing, crime fiction
Poetry Only (for Politics, Parenting, Food and Generally Comments About Trying to Survive as an Uneducated Middle-aged White Man, see Sleepingbearpress)
Have Faith & Move Forward
"Serving great people, with great purpose!"
Another outlet to overload your sensories.
Just another WordPress.com site
Jesus, Commentary, Reflections, and Jesus
